Crafts
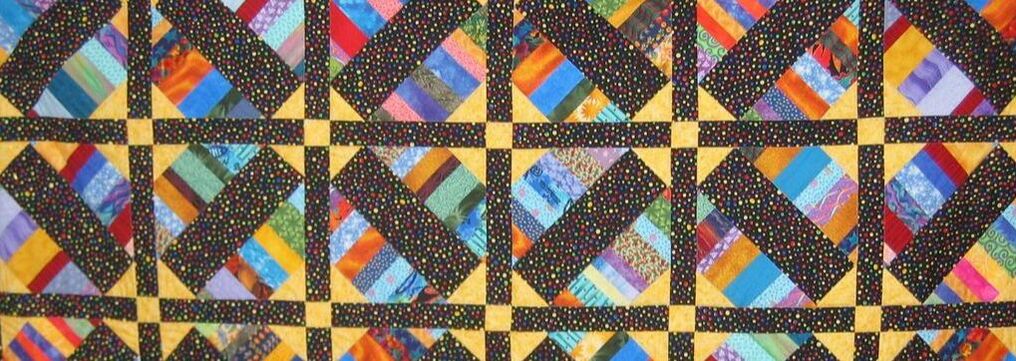
Crafts were made for utilitarian purposes as well as adding beauty to the home. Usually made by the women in the family these pieces of artwork consisted of quilts, rag rugs, weaving and spinning of yarn as well as beautiful pieces of embroidery. Young girls may learn the basics by embroidering a sampler that would consist of letters, numbers, flowers and other simple designs made from a variety of stitches. Other types of utilitarian crafts included candle making and tin punch.
Log Cabin Quilt
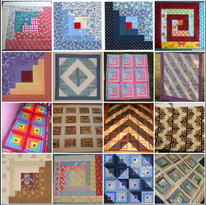
Fabric was difficult to come by on the farm and when purchased could be expensive. Women would make clothes for their family which would be altered and passed down to younger children until it could no longer be used. These scraps could then be sewn together to make warm quilts for the cold winter nights. Quilting could be as simple as a block quilt, where pieces of equal size squares were sewn together, to quilts of elaborate patterns. An easy quilt to get started with is the Log Cabin pattern. The Log Cabin quilt is made from strips of cloth sewn together as logs might be placed to build a cabin. The strips are typically pieced together with dark fabrics on one side and light colored fabric on the other. The center square was usually made with red or orange cloth to represent the fires burning in the hearth of the home. Once each square was made, they could be sewn together many different ways by just turning the individual blocks. The patterns could make diagonal lines or form stars. Click here for directions for making a no-sew sample Log Cabin Quilt with paper or fabric.
Rag Rug
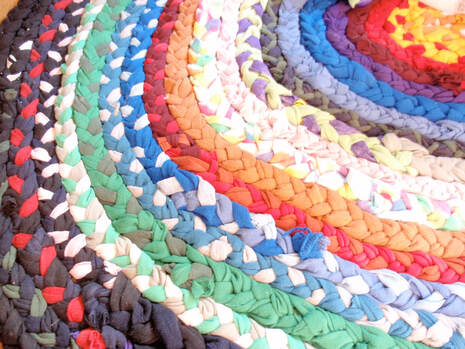
Nothing was to go to waste. If clothes could no longer be worn, altered or passed down then the fabric would be used to make household items. One of these items was a rag rug. Many homes had dirt floors and even if they were fortunate enough to have wooden floors, nice rugs kept the floor soft and warm. There are many different techniques for making rag rugs but below you will find directions for an easy rag rug. You can use the technique to make a small coaster or keep adding to it to make a floor size rug.
Materials needed:
Directions:
Materials needed:
- fabric cut into strips 1-3 inches wide. The heavier the material the thinner the strip. Just make sure all your strips are of equal width.
- Scissors
- Quilting thread
- Embroidery or tapestry needle
Directions:
- Use three strips of fabric of different lengths to begin
- Tie the three strips in a knot at one end.
- Start braiding the strips together.
- When you reach the end of a fabric strip, cut a small slit and slide another piece of fabric through the hole, folding over the end. Then continue braiding. Keep adding strips until the braid is the length you want for your project.
- When you have the desired length for the entire project start rolling it together.
- Starting at an end, roll the braid against itself, creating a circle. Don’t pull too hard as you wrap it up or it won’t lay flat when it’s finished.
- As you add a layer to the circle, pin it to the previous ring, so it will stay together. With the needle and thread, stitch through outer two layers of braid as you move along, stabilizing the rug.
- When you reach the end of your fabric, fold over the ends and secure them with thread.
Tin Punch Lantern
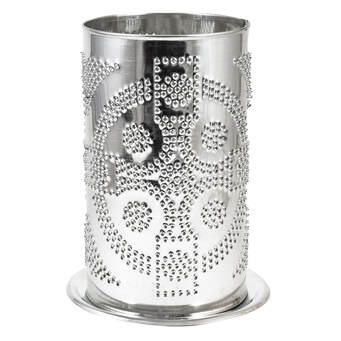
Creating a beautiful warm glow was easy to do with tin punch lanterns. You can easily make one of these lanterns with simple supplies you probably already have on hand.
Supplies needed:
Supplies needed:
- clean dry tin can with all labels removed
- hammer
- large nail
- water
- marker
- small tea candle
- Fill the can almost full with water and freeze over night
- Dry off the outside of the can and use a marker to draw your design. The design should be made from a series of small dots. Make the design as simple or as complex as you like.
- Use a hammer and nail to make a hole in the can for each of the dots of your design
- Let the rest of the ice melt and dry the can completely. Be careful the nail holes may be sharp
- Place a tea candle or small candle in the bottom of the can. Light the candle and enjoy the warm glow.
Candle Making
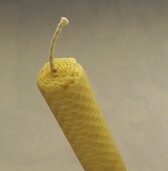
Work on the farm did not stop after dark, however with no electricity or batteries for lighting oil lamps and candles as well as the glow from a firs provided all the light they had. Candles were typically made from beeswax and later paraffin.
Beeswax Candles (no melting required)
Beeswax Candles (no melting required)
- Natural beeswax sheets
- cotton candle wick
- Place the cotton wick the length of your wax, along the long side of your sheet of wax.
- Roll the wax tightly around the wick until the entire sheet is wrapped around the wick. That's it!
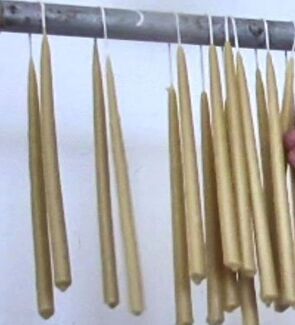
Candle Dipping
- Paraffin wax
- One pot for melting the wax
- Food coloring
- Candle wick
- Craft stick
- Melt paraffin wax in a pot. If you are only making white candles you will not need food coloring. If you want colored candles, add the coloring to the wax as it melts.
- Cut the wick about 3-4 inches longer than twice the length desired finished candle
- Fold the wick in half evenly over the craft stick. This will make two candles.
- Dip the wicks into the warm wax. Hold it there for a few seconds. Make sure to keep the two wicks separate.
- Pull the wicks out of the wax, hold for a few seconds and repeat. Each time you dip the candle in the was it will build up on the outside of the wick. Once you have reached the desired thickness of your candle you can cut the wick from the craft stick leaving enough on the end to light.
